How to Repot Herbs Step by Step
The signs that a potted herb has outgrown its container, how to choose the next pot size, and a clear step-by-step method for repotting, plus when to divide or replace the plant instead.
At a glance
What you need
- A pot 1 to 2 in (2.5 to 5 cm) wider, with a drainage hole
- A saucer
- Fresh potting mix
- Clean scissors
- Newspaper or a tray
- A watering can
A herb that was easy to look after a few months ago can turn demanding almost overnight. It wilts by the afternoon, water rushes out of the bottom as fast as you pour it in, and new leaves come smaller than the old ones. Often the plant has simply filled its pot with roots and has nowhere left to grow.
Learning how to repot herbs takes one short session and very little equipment. What follows covers how to tell that a plant really needs it, what size of pot to choose, the steps themselves, and the cases where dividing the plant or starting a new one makes more sense.
Signs a herb needs repotting
No single sign settles it, because fast drying and slow growth have other possible causes too, including a warm sunny spell, a small terracotta pot, low light or a tired plant. Several of these together make a root-bound pot much more likely:
- Roots growing out of the drainage hole or circling on the surface of the mix
- Water running straight through and out, leaving the mix barely damp
- The pot drying out far faster than it used to in similar weather
- Growth that has stalled even though light and care have not changed
- A clump, such as chives or mint, packed tightly against the pot wall
The best check is to look. Tip the plant out into your hand: if you see mostly roots and little mix, wound around in the shape of the pot, it is root-bound.

Choose the new pot: one size up
Pick a pot about 1 to 2 in (2.5 to 5 cm) wider than the current one, and make sure it has a drainage hole. That modest step gives roots fresh mix to grow into without surrounding them with a large mass of wet mix they cannot yet use.
Jumping to a much bigger pot is a common mistake. The extra mix stays wet for a long time, which is hard on roots, especially for thyme, oregano, rosemary and sage, which prefer the top of the mix to dry between waterings.
Material matters as well: terracotta dries faster than plastic or glazed ceramic. The guide to the best pots for indoor herbs compares the options. A decorative cachepot without a hole is fine as an outer cover, as long as the plant sits inside it in a pot that drains.
What you need
- The new pot and a saucer
- Fresh potting mix (see the guide to potting soil for indoor herbs for what suits each type of herb)
- Clean scissors, for trimming any dead or broken roots
- Newspaper or a tray to work on
- A watering can
Repotting, step by step
- Water the day before. A moist root ball slides out more easily and holds together, and the plant goes into the move well supplied with water.
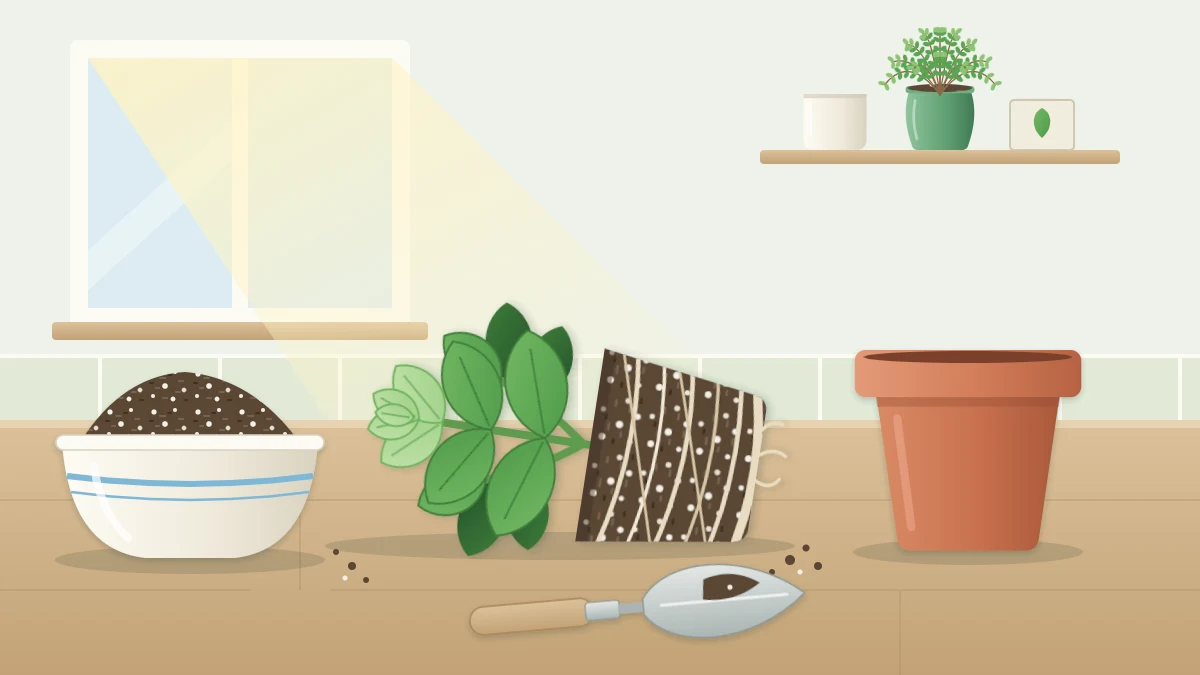
- Slide the plant out. Spread your fingers over the mix with the stems between them, turn the pot on its side or upside down, and tap the rim or squeeze the sides. Do not pull on the stems. If it is stuck, run a knife around the inside of the pot.
- Tease the circling roots loose. Gently work the outer roots free with your fingers, especially at the bottom, so they point outward and down. Roots left wound in a tight coil often keep circling. Trim off any that are dead or broken.
- Add a layer of fresh mix. Put enough in the new pot that the top of the root ball will sit about half an inch (1 cm) below the rim, leaving room for watering.
- Set the plant at the same depth. Center it and check that the old soil surface will end up level with the new one. Do not bury the stems deeper than before.
- Fill around the sides. Trickle mix into the gap and settle it by tapping the pot on the table.
- Firm lightly. Press the mix down with your fingertips just enough to hold the plant steady. Packing it hard squeezes out the air roots need.
- Water until it drains. Pour slowly until water runs from the hole, let the pot drain, then empty the saucer. Top up with a little mix if it settles.

Tip
Skip the layer of gravel or broken pot pieces in the bottom. It takes up space roots could use and does not improve drainage; a drainage hole and a suitable mix do that job.
Dividing instead of sizing up
Chives and mint grow as spreading clumps, and a crowded clump does not need an ever larger pot. You can split it instead.
Tip the plant out and pull or cut the root ball into two to four sections, each with its own roots and shoots. Replant one section in the original pot with fresh mix and pot the others separately, or give them away.
Keep mint in a pot of its own. It spreads by runners and soon crowds out anything sharing its container.
Aftercare
For the first few days, keep the plant in good light but out of the hottest direct sun while the roots settle. After that it can go back to its usual place.
Carry on checking moisture the way you normally do, with a finger about an inch (2.5 cm) into the mix. Expect the rhythm to change: a larger volume of fresh mix holds more water, so the pot will probably go longer between waterings than the cramped one did. Fresh mix usually carries enough nutrients for a while, so there is no rush to feed; when you do, follow the fertilizer label.
When to replace instead of repot
Repotting cannot extend the life of a plant that is near its natural end. Basil is an annual, and an old woody one that keeps trying to flower will not be renewed by a bigger pot. Cilantro that has gone through bolting is finished as a leaf crop. In both cases the better use of your mix is a new sowing or a young plant.
Good to know
Potted herbs sold for the kitchen are a special case. They are often many seedlings crowded into one small pot, and they do better split into clumps than moved whole into a larger pot. The method is in the guide to grocery store herb plants.
Frequently asked questions
How often do indoor herbs need repotting?
There is no fixed interval. Fast growers such as mint or a vigorous basil may fill a small pot within a few months, while slow woody herbs like thyme and rosemary can stay put much longer. Go by the plant: roots at the drainage hole, water running straight through and stalled growth are the cues.
Can I repot herbs at any time of year?
Indoors you can repot whenever a plant clearly needs it, but spring and early summer are the easiest times because herbs are growing actively and root into fresh mix quickly. In the dim months growth slows, so a newly repotted plant stays wet longer; water with extra care and choose only a slightly larger pot.
Should I break up the roots when repotting a herb?
Loosen them, but gently. Work the outer circling roots free with your fingers so they can grow outward into the new mix, and trim any that are dead or broken. There is no need to wash off the old mix or pull the root ball apart, unless you are dividing a clump of chives or mint.